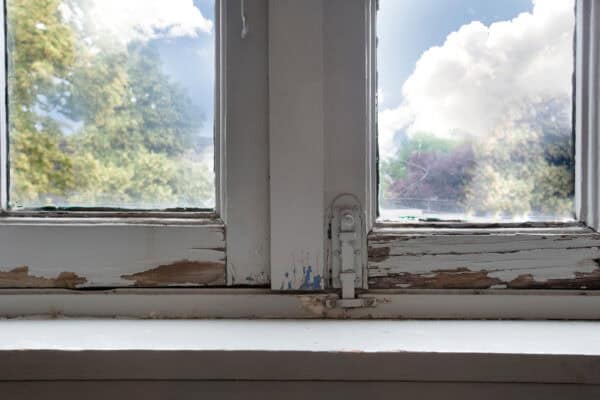
Many homeowners assume that restoring original windows is an impossible task, leading them straight to the replacement counter. But what if we told you that bringing these historic gems back to life is not only achievable but often more rewarding than replacement? Those “hopeless” old windows hiding under layers of paint and decay likely have decades of life left in them – they just need some thoughtful attention.
Why Restore Instead of Replace?
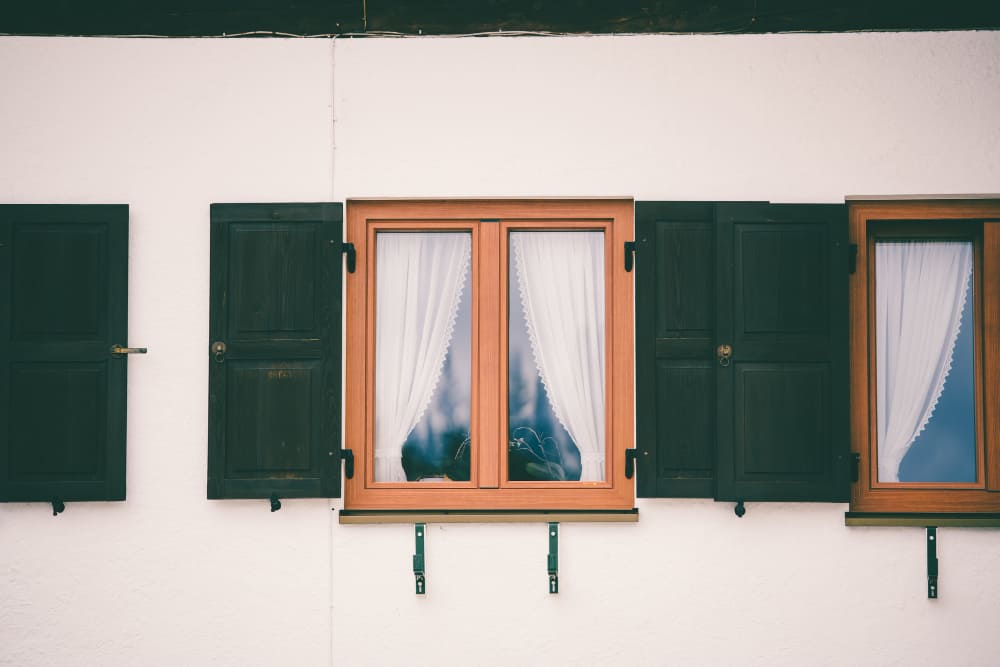
Before we dive into the how-to, let’s talk about the why. Original windows offer character and craftsmanship that modern replacements simply can’t match. They were built from old-growth wood that’s more durable than anything available today. Beyond aesthetics, restoration is:
Cost-effective – typically 1/3 the cost of quality replacements
Eco-friendly – keeps materials out of landfills
Historically accurate – preserves your home’s architectural integrity
Energy efficient – properly restored windows with storm panels perform comparably to new units
Getting Started: Tools and Safety
Gather these essentials before beginning:
Safety glasses and gloves
Heat gun or infrared paint remover
Deglazing tool and putty knife
Wood epoxy or polyester-resin filler
Sanding blocks (various grits)
Exterior-grade primer and paint
New glazing points and glazing compound
Step-by-Step Restoration Process
1. Sash Removal with Care
Start by carefully removing the interior stops – the thin trim pieces that hold the sash in place. Use a utility knife to score along the edges where paint might be binding them. Gently pry them away, labeling each piece for reassembly. Once stops are removed, you can lift out the sash for easier work access.
2. Paint Removal Done Right
Rather than using chemical strippers that can damage wood, opt for a heat gun or infrared heater. These tools soften paint safely, allowing you to scrape it away without releasing toxic fumes. Work in small sections and keep the heat moving to prevent scorching the wood.
3. Deglazing Like a Pro
Lay the sash on a protected surface. Using a deglazing tool or stiff putty knife, carefully remove the old glazing compound. You’ll find small metal points holding the glass in place – remove these with pliers. Take your time here to avoid breaking the original glass.
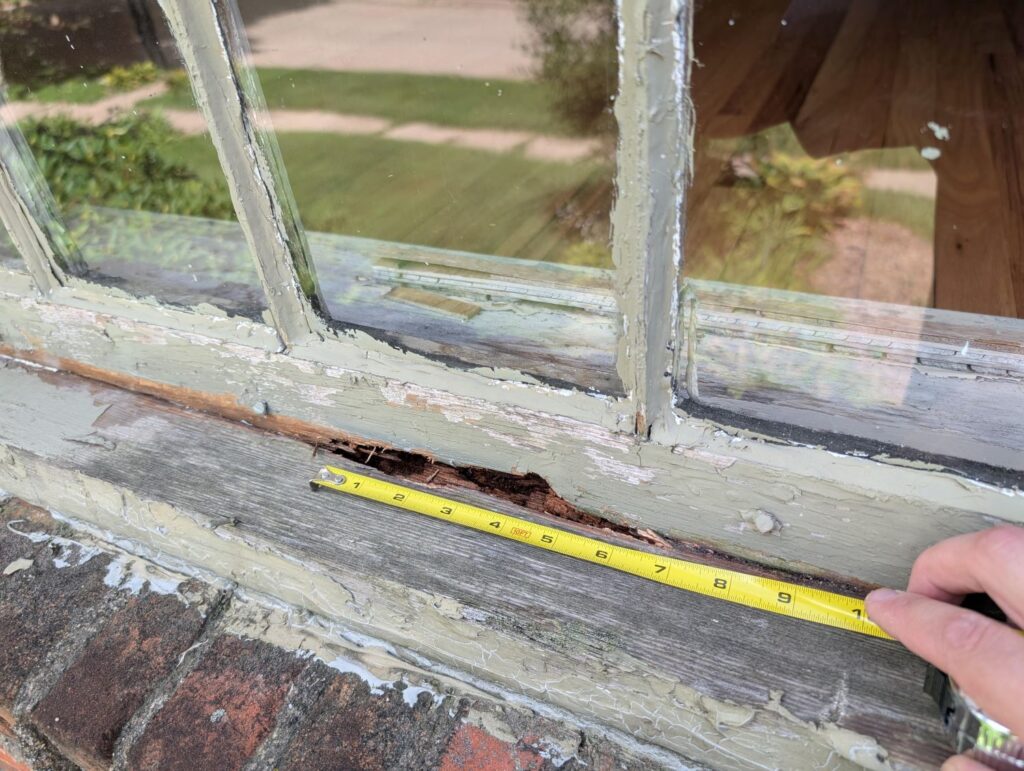
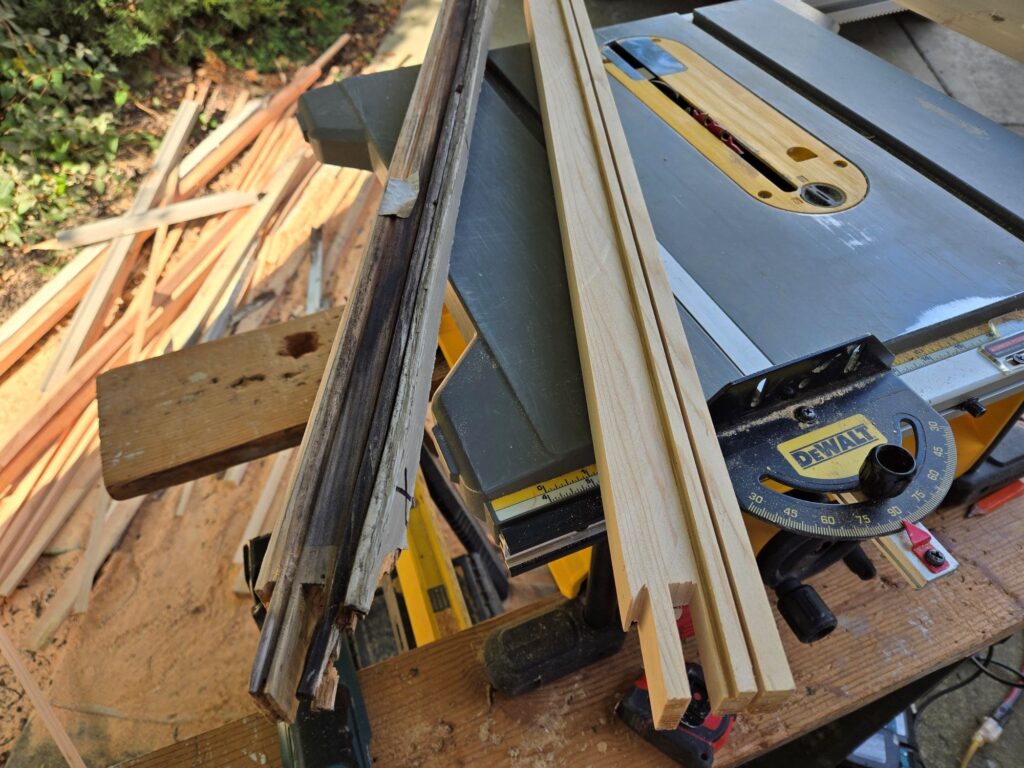
4. Wood Repair and Reinforcement
Inspect the wood closely once it’s bare. For minor decay, scrape out the soft wood and apply a two-part wood epoxy. For more significant damage, consider a “dutchman repair” – carefully cutting out the damaged section and splicing in a new piece of wood. This preserves most of the original material while restoring structural integrity.
5. Surface Preparation is Everything
Sand all surfaces smooth, starting with coarse grit and finishing with fine. Pay special attention to the glazing rabbet (the groove where the glass sits). Once smooth, vacuum thoroughly and wipe with a tack cloth. Apply an oil-based primer to all surfaces, including the spots you’ll be reglazing.
6. The Art of Reglazing
Roll a thin rope of new glazing compound and press it into the rabbet. This creates a weather-tight bed for the glass. Carefully set the glass in place and secure with new glazing points. Then, apply a smooth, tapered bead of compound around the glass, using a putty knife held at a 45-degree angle. This “bed and face” method ensures a durable, weatherproof seal.
7. Final Finishing for Longevity
After the glazing compound has set (usually 1-2 weeks), you can paint. Use a high-quality exterior paint, applying multiple thin coats rather than one thick one. Pay special attention to the joint between glass and wood – this is your first line of defense against moisture.
When to Call in the Professionals
While many restoration steps are DIY-friendly, some situations warrant expert help:
Windows with significant structural damage
Historic stained or leaded glass
Complex mechanical systems (like weighted pulleys)
When you’re short on time or confidence
Multiple windows needing simultaneous restoration
Preserving Your Restored Windows
Once your windows are restored, simple maintenance will keep them beautiful for years:
Annual inspection of glazing and paint
Regular lubrication of moving parts
Prompt attention to any new paint chips
Proper operation – don’t force stuck windows
Ready to Save Your Historic Windows?
If you’ve been considering window replacement, we encourage you to explore restoration first. Our team specializes in bringing old windows back to their original beauty while improving their performance. We serve homeowners who appreciate historic craftsmanship and want to preserve their home’s character.
Contact us today for a consultation. Let us show you how restoration can save you money while maintaining the unique charm that drew you to your home in the first place.