That telltale soft spot, a flake of paint that reveals something spongy beneath, or a window that just won’t seal properly—rot is the silent enemy of wood windows. Especially in a climate with fluctuating humidity, this decay can seem like a death sentence for your windows. But before you resign yourself to the high cost of full replacement, know this: repairing rotted wood windows is often a highly effective and budget-friendly solution.
While a full-scale replacement might seem like the only answer, skilled restoration can preserve the original character and craftsmanship of your windows, often making them better than new. Here’s a detailed look at the repair process and how to decide if it’s a job for your toolbox or time to call in the experts.
Why Repair Beats Replacement (Most of the Time)
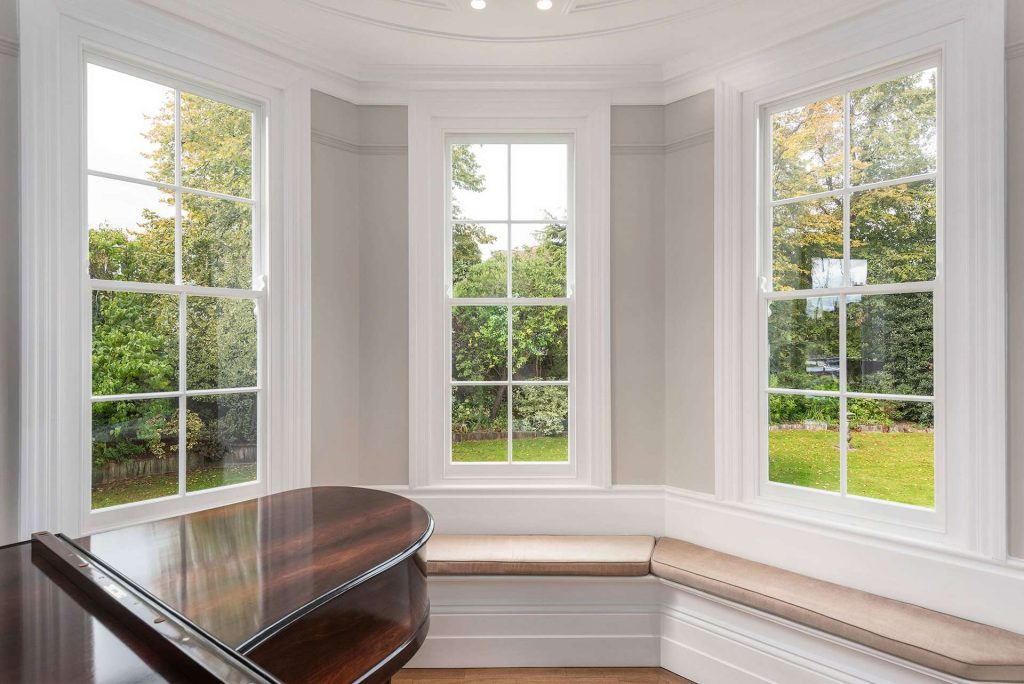
Original wood windows are often built from old-growth lumber, a material far superior in density and durability to what’s commonly used today. Throwing that away isn’t just a loss of character; it’s a loss of quality. Repairing the damaged section preserves the window’s history, its energy efficiency (when properly maintained), and saves you a significant amount of money compared to a custom window replacement.
The DIY Wood Window Rot Repair Process: A Step-by-Step Guide
If the damaged area is small and you’re comfortable with basic tools, you can tackle this project over a weekend.
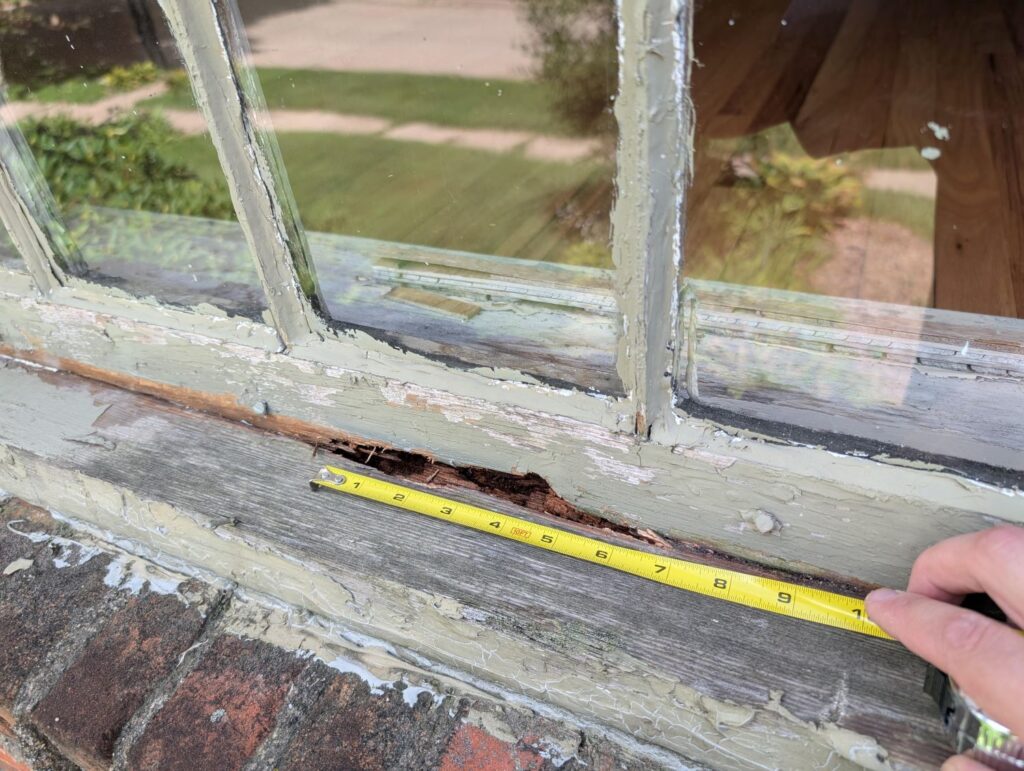
Step 1: The Surgical Assessment
Don’t just scratch the surface. You need to be a detective. Use a small awl or a flathead screwdriver to probe the wood. Gently poke areas that look suspicious. Healthy wood will resist; rotten wood will feel soft and mushy and the tool will sink in easily. Mark the entire affected area with a pencil so you know the full scope of the damage.
Step 2: The Removal — Cut Out the Decay
This is the most critical part. Using a chisel, a five-in-one painter’s tool, or a specialized tool called a “router plane,” meticulously remove all the soft, rotten wood. Be ruthless here—if you leave any rot behind, it will continue to spread like a cancer under your new repair. Your goal is to get back to solid, clean wood on all sides of the cavity.
Step 3: Prepping for the “Transplant”
Once you have a clean cavity, it’s time to create a strong bond for the filler. Drill a series of small, shallow holes into the sound wood at the bottom and sides of the cavity. This gives the epoxy a network of channels to seep into, creating a powerful mechanical bond that’s much stronger than a simple surface-level patch.
Step 4: The Foundation — Applying the Wood Hardener
Before filling the hole, you need to strengthen the remaining wood fibers. Pour or brush a liquid wood consolidant (a two-part epoxy hardener) into the cavity, ensuring it soaks into the drilled holes. This product hardens the surrounding wood, creating a solid base for the filler and preventing future rot.
Step 5: The Reconstruction — Molding with Epoxy Filler
Now for the magic. Mix a two-part epoxy wood filler according to the manufacturer’s instructions. Unlike simple wood putty, this product is waterproof, incredibly strong, and can be molded and shaped. Press it firmly into the cavity, overfilling it slightly. You can use a putty knife to shape it and even imprint a wood-grain texture with a stiff brush before it fully hardens.
Step 6: The Finishing Touches — Sanding and Sealing
After the epoxy has cured completely (usually 24 hours), sand the repair until it’s perfectly smooth and flush with the surrounding wood. Then, this is non-negotiable: you must prime and paint the entire repaired area with a high-quality exterior primer and paint. This seal is what protects your hard work from the elements and ensures the repair lasts for years.
Know When to Call a Professional
While DIY can be satisfying, some situations demand a professional touch. Call an expert if:
The rot has affected the structural integrity of the window frame or sash.
The damage is extensive, affecting multiple windows or large sections.
The window’s operation is compromised (it won’t open, close, or lock properly).
You’re dealing with historic windows where preserving original material is paramount.
You simply don’t have the time, tools, or confidence to do the job right.
Professional restorers use techniques like “dutchman repairs,” where they scarf in a new piece of wood that’s custom-fit to the damaged area, creating a repair that is both incredibly strong and visually seamless.
Serving the Chicago Area
If your inspection reveals that the rot is beyond a simple DIY fix, or you’d prefer the assurance of a guaranteed, long-lasting repair, our team at Window Quality Works is here to help. We specialize in restoring the beauty and function of wood windows across Chicago.
Don’t let wood rot compromise your windows. Contact us today for a professional assessment and a free quote on repairing your wooden windows to their original strength and beauty.