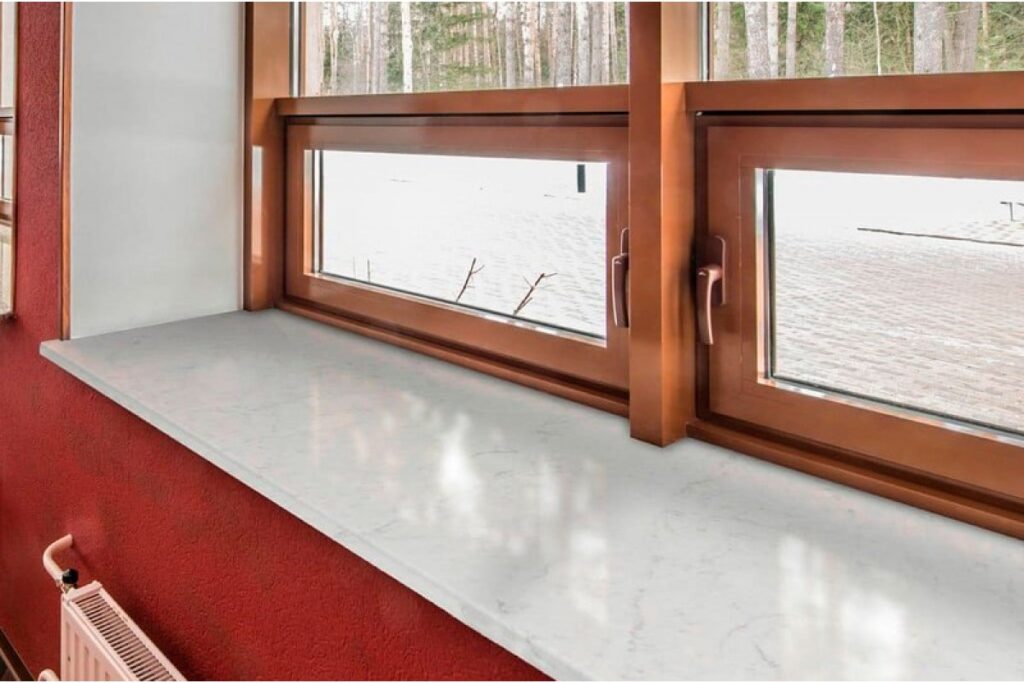
Window sills are more than just a shelf; they are a crucial part of your window’s defense system. Positioned on the front lines, they face constant exposure to sun, rain, condensation, and daily wear and tear. This makes regular maintenance not just a “good idea,” but an essential part of home upkeep. A little bit of care a few times a year can prevent water damage, keep pests out, and save you from the high cost of major repairs down the road.
Think of sill maintenance as a quick and easy health check for your home. By spending just a few minutes, you can spot small, fixable issues before they grow into expensive, structural problems. This guide will walk you through the simple steps to keep both your interior and exterior window sills in perfect condition.
The Simple Power of Regular Cleaning
Cleaning your sills is the easiest and most effective maintenance task you can do. It’s not just about appearance; it’s about prevention. Dirt, dust, and pollen can trap moisture against the wood or finish, slowly breaking it down. For homeowners, this routine cleaning also serves as a perfect inspection opportunity.
Here’s how to do it right:
- For Interior Sills: Once a month, wipe them down with a soft cloth dampened with a mix of warm water and a small amount of mild dish soap. Avoid using harsh chemicals that can strip the finish. The most important step is to immediately dry the sill thoroughly with a separate, dry towel. This prevents any leftover moisture from seeping into the wood and causing swelling or rot.
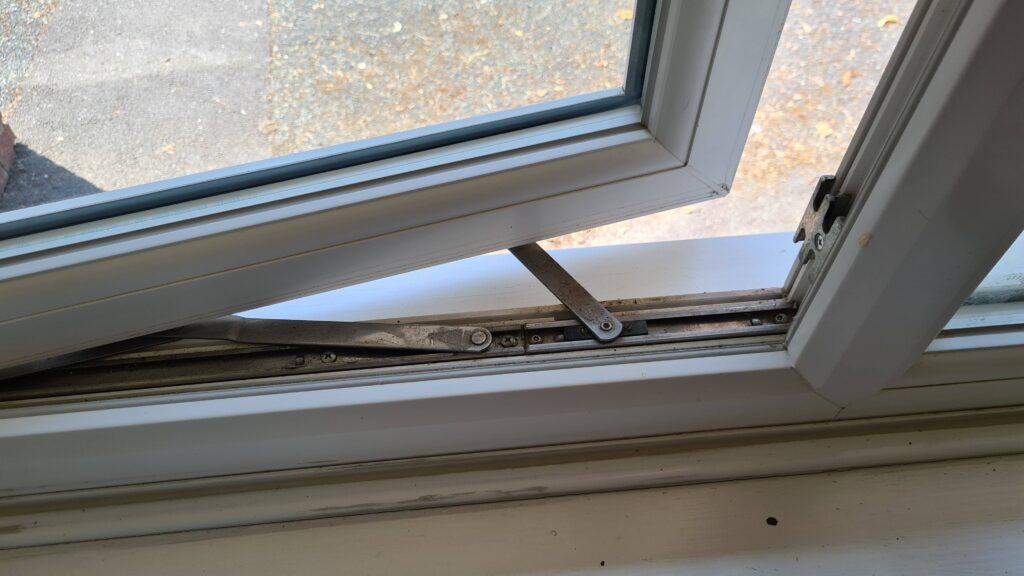
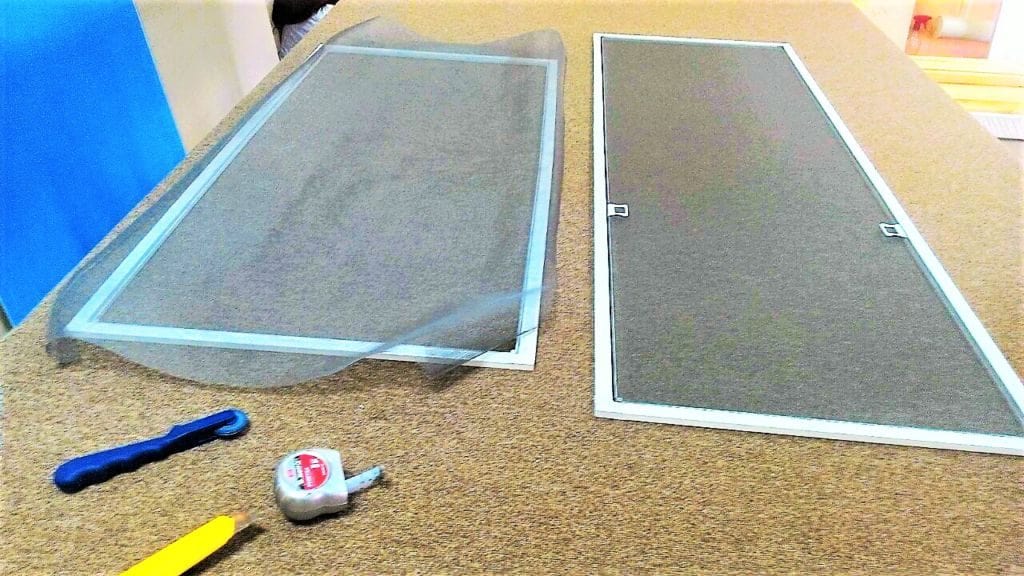
- For Exterior Sills: These need a bit more attention. Every season, clear off any leaves, twigs, or debris. Use a soft brush or cloth with soapy water to scrub away grime. Pay special attention to the weep holes—those tiny slots at the bottom of the exterior window frame. Poke a small wire or toothpick through them to ensure they are clear. Clogged weep holes are a leading cause of window sill rot because they trap rainwater against the wood.
The Protective Power of Paint
Paint is much more than a color choice; it’s your window sill’s primary shield. The sun’s ultraviolet rays constantly break down paint, making it brittle and causing it to fade and peel over time. Once the paint fails, the wood underneath is vulnerable to moisture.
Knowing when and how to repaint is key:
- When to Repaint: Don’t wait for the paint to be completely gone. If you notice the color looking faded, the surface feeling chalky, or you see small chips and cracks during your cleaning, it’s time for a touch-up. Addressing it now prevents a small problem from becoming a big one.
- The Right Way to Paint:
- Preparation is 90% of the Job: Use a scraper to remove all loose, flaking paint. Then, sand the area until it is smooth to the touch. This creates a solid surface for the new paint to stick to.
- Prime is Non-Negotiable: This is the most critical step for longevity. You must cover any exposed, bare wood with a high-quality, exterior-grade primer. Primer seals the wood, preventing moisture from getting in and ensuring the paint adheres properly.
- Choose a Tough Top Coat: Finish with at least one coat of a durable, exterior-grade paint. A semi-gloss or gloss finish is often best as it is more moisture-resistant and easier to wipe clean than a flat finish.
Don’t Ignore the Small Stuff: Sealing Cracks and Gaps
Tiny cracks might seem like just a cosmetic issue, but they are an open door for water damage. When water seeps into a crack, it sits there. In the winter, it freezes and expands, making the crack larger. This cycle quickly leads to rot inside the wood, where you can’t see it.
How to handle cracks:
- For Hairline Cracks: Use a high-quality, paintable exterior caulk. Apply a thin bead, smooth it with your finger, and let it dry before painting over it to match the sill.
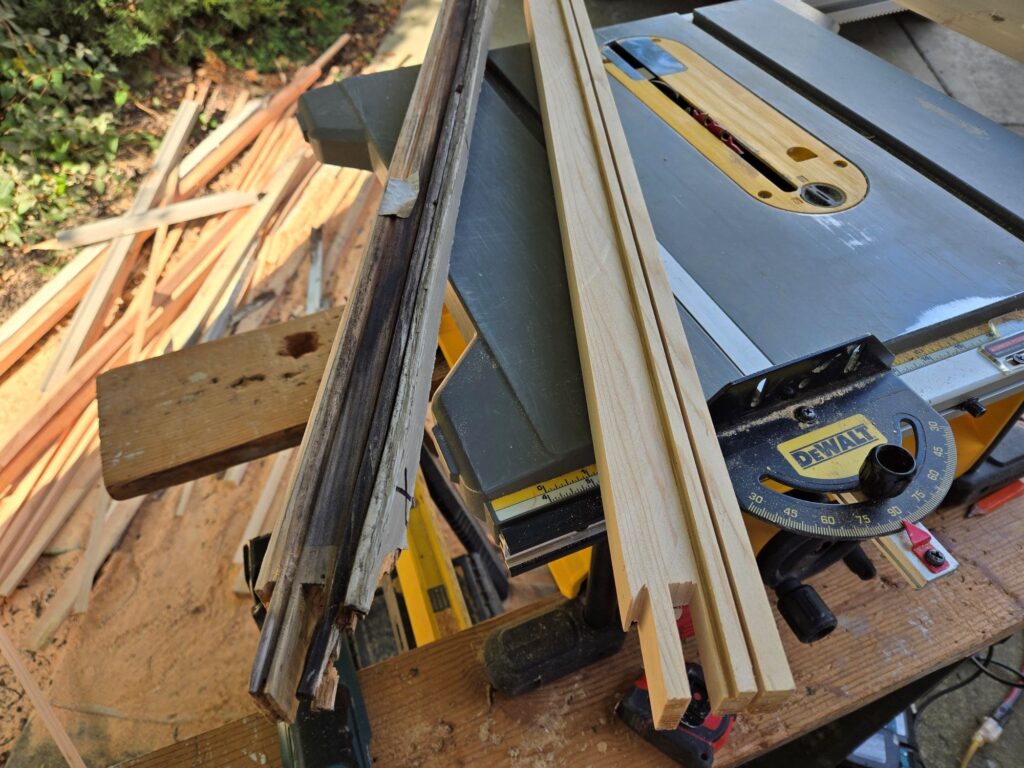
- For Deeper Cracks or Holes: A two-part wood filler or epoxy is a stronger solution. Press it firmly into the damaged area, let it cure completely, then sand it smooth and paint.
- The “Screwdriver Test”: If you find a soft spot, press a screwdriver into the wood. If it sinks in easily or the wood feels spongy, you have rot. For small, localized areas, a wood hardener can stabilize it before you apply filler. But if the damage is widespread, the sill’s structure is compromised.
When It’s Time to Call a Professional
While DIY maintenance is great for prevention, some damage is too severe. If your window sill is extensively rotted, warped, or pulling away from the window frame, it is no longer protecting your home. A failed sill can allow water to seep into the wall structure behind it, leading to mold, mildew, and incredibly expensive repairs.
You Can Trust Us for Your Window Sill Repairs
If your inspection reveals that a window sill is beyond a simple DIY fix, our team is here to help. We specialize in rotted window sill repair and replacement for homeowners in Tinley Park. We remove the damaged sill and install a new, durable one that is properly sealed, primed, and painted, restoring full protection and beauty to your window.
Don’t let a small issue become a major headache. Contact us today for a free, no-obligation assessment of your window sills!