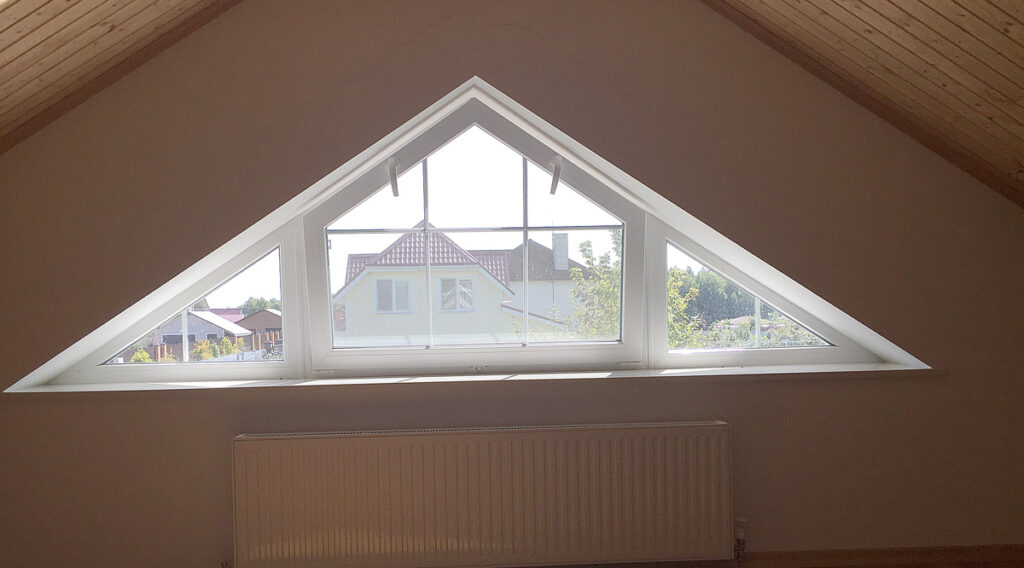
There’s something special about the character old wood window sills add to a home. That warm, weathered look tells a story of years gone by. But when that weathering turns to decay, it’s not just an aesthetic issue – it’s a threat to your window’s structure and your home’s protection against the elements. The good news? With the right approach, you can restore that beautiful old sill to its former glory.
Understanding Why Window Sills Fail
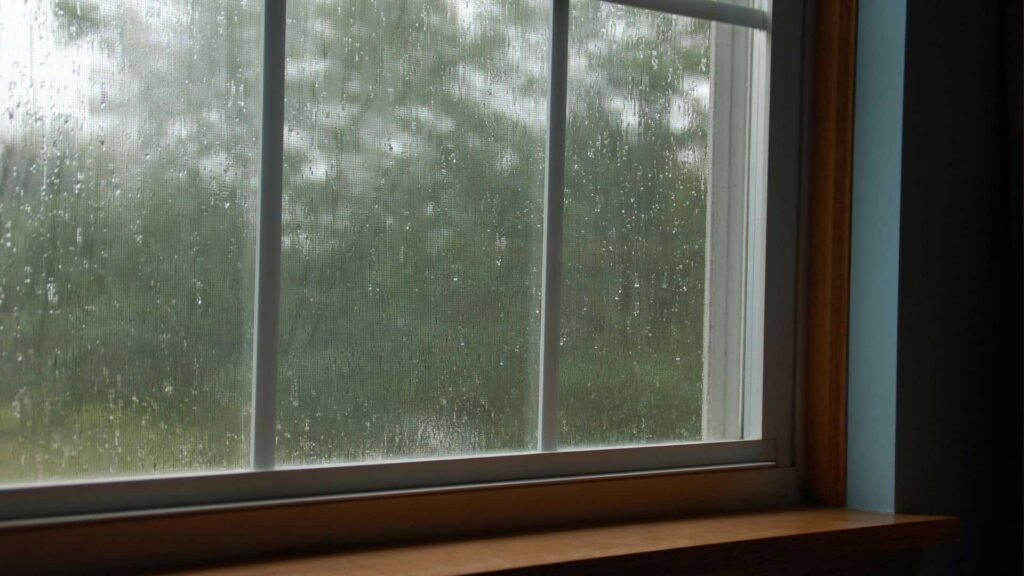
Before we dive into repairs, let’s understand what we’re up against. Your window sill is essentially a shield, taking the brunt of nature’s assault. Rain, snow, sun, and temperature changes constantly work against it. The most common culprit? Water intrusion.
When the protective paint or finish wears thin, moisture seeps into the wood grain. This creates the perfect environment for rot to develop, often starting in areas you can’t easily see. Other factors include:
Poor original installation or design
Lack of proper slope for water runoff
Insect damage that creates entry points for moisture
Condensation from inside the home
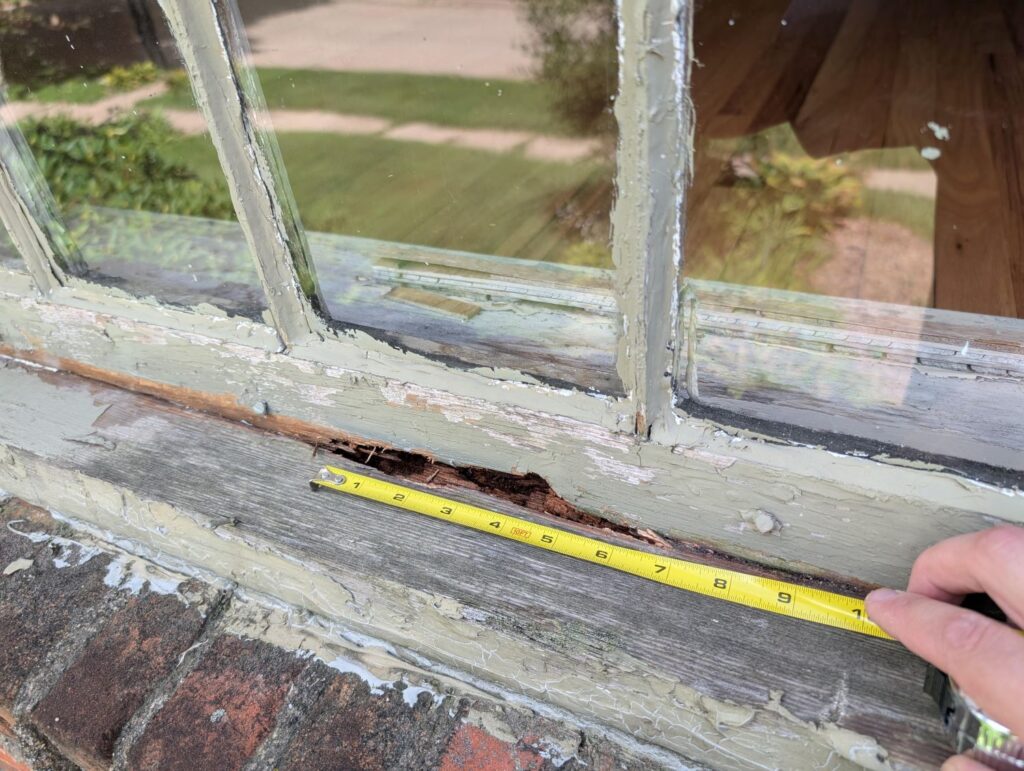
Assessing the Damage: The Critical First Step
Before grabbing tools, you need to play detective. Take a simple screwdriver and gently press it into the wood in several places. If it sinks in easily or the wood feels spongy, you’ve found rot. Pay special attention to:
The outer edge of the sill
Areas where water might pool
Joints where the sill meets the side jambs
Underneath the paint where discoloration appears
The Repair Decision: Patch vs. Replace
When to Use Epoxy (Minor Damage)
If the rot affects less than 15-20% of the sill and the structure remains sound, epoxy repair is your best friend. This isn’t just filling a hole – it’s reconstructing the wood. Modern two-part epoxy systems are amazingly strong and can be molded, carved, and sanded just like real wood.
The Epoxy Repair Process:
Remove all rotten material with a chisel or router
Drill small holes in surrounding solid wood for epoxy anchors
Apply wood hardener to strengthen remaining fibers
Mix and apply epoxy filler, overfilling slightly
Shape with carving tools while semi-hard
Sand smooth once fully cured
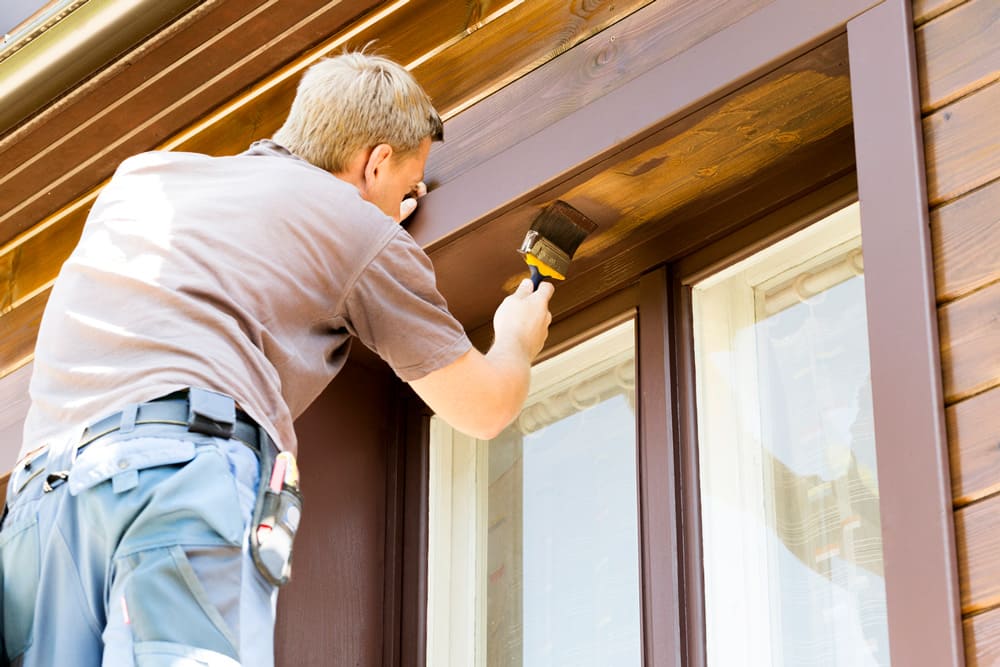
Prime and paint with exterior-grade products
When Replacement is Necessary
Sometimes, epoxy just won’t cut it. Replacement is your only option when:
Rot affects more than 20% of the sill
Structural integrity is compromised
Multiple layers of old paint have created a “skin” hiding extensive damage
The wood is extensively cracked or warped
Step-by-Step Sill Replacement
Replacing a window sill might seem daunting, but with patience and the right approach, it’s very achievable:
Careful Removal: Start by removing the interior casing and any stops holding the sash. Document each step with photos to help during reassembly.
Precise Cutting: Using a reciprocating saw or oscillating tool, carefully cut through the old sill at the joints. Work slowly to avoid damaging the window frame.
Pattern Making: Use the old sill as a template to create your replacement. Trace its shape onto new, rot-resistant wood like cedar, redwood, or pressure-treated pine.
Custom Fitting: Cut the new sill to match, test the fit, and make any necessary adjustments. Remember to recreate the vital downward slope for water drainage.
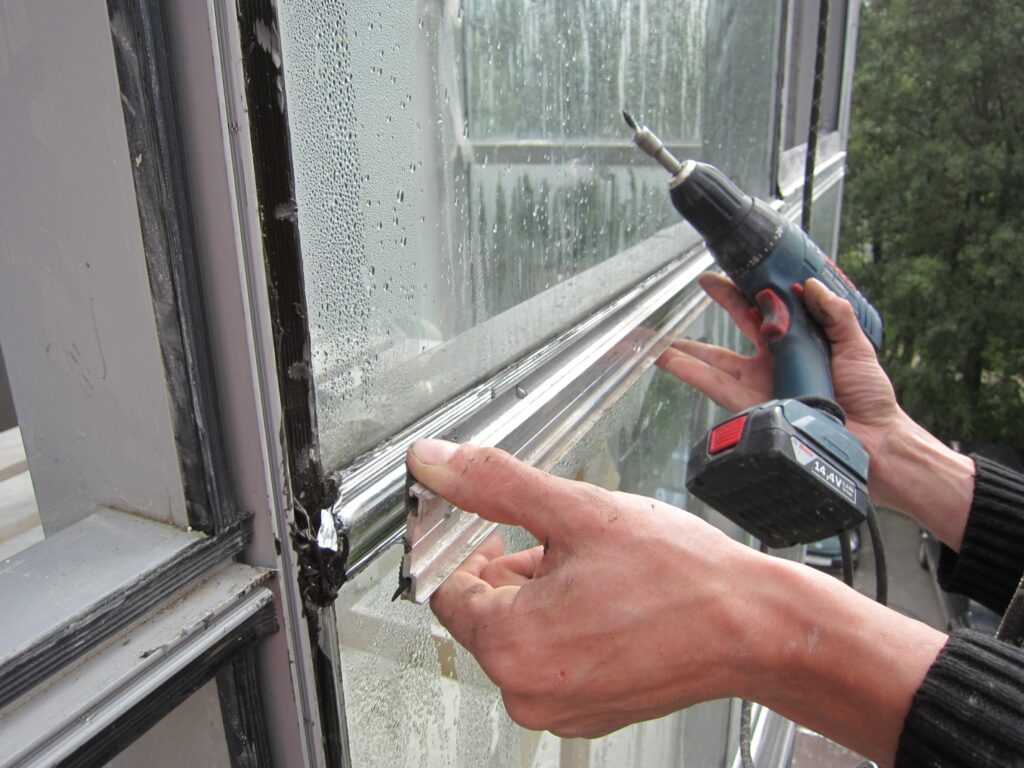
Secure Installation: Apply a bead of exterior-grade adhesive to the mounting surface. Position the new sill and secure it with stainless steel screws.
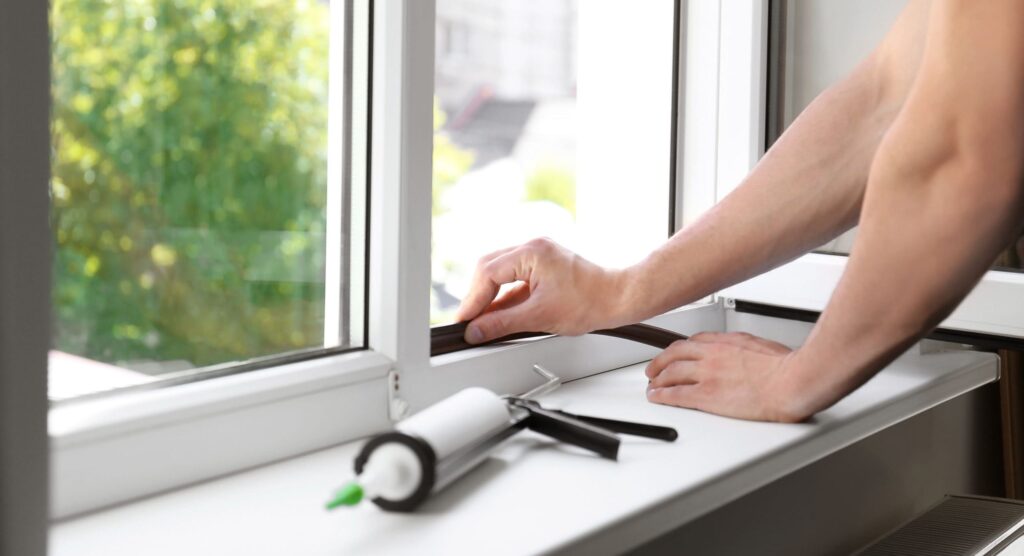
Weatherproofing: Caulk all seams with high-quality exterior caulk and apply primer to all surfaces, especially end grain.
Finishing: Install new flashing if needed, then apply two coats of high-quality exterior paint, ensuring complete coverage.
Prevention: Your Best Defense
A repaired sill should last for decades with proper care:
Inspect and recaulk annually
Touch up paint chips immediately
Keep the sill clear of plants and debris
Ensure proper drainage away from the window
Consider adding a metal sill cover for extra protection
When to Call a Professional
While many sill repairs are DIY-friendly, some situations warrant professional help:
Structural concerns about the window frame
Historic windows where preservation is crucial
Extensive damage affecting adjacent wall structures
Uncertainty about proper repair techniques
Lack of proper tools or time for the project
Ready to Restore Your Window Sills?
If you’re looking at damaged window s ills and feeling overwhelmed, we’re here to help. Our team specializes in window sill restoration, from simple epoxy repairs to complete custom replacements. We work with both modern and historic homes, always aiming to preserve original character while ensuring lasting protection.
Contact us today for a free assessment of your window sills. Let us help you protect your home’s charm and structural integrity with professional repair solutions that stand the test of time.